Why DIY?
An Interview with Matthew Tripp
DIY, or “Do-It-Yourself”, projects come in all shapes and sizes and can range from everything between crafts with the kids to remodeling your home. Whether you’re an avid DIYer or have merely heard of the term, DIY projects have been around for decades and originated with the belief that anyone can do it. While it may seem easier to simply hire a contractor to handle those larger projects, tackling home improvement projects on your own can be easier and more satisfying than you may initially think. With a DIY project, you’ll save money and avoid the need to coordinate your schedule with a busy contractor. Even better, did you know that DIY projects are also good for your physical and mental health? Notably, DIY projects:
- Help reduce stress, boost energy, and improve your overall mood
- Allow you to be more active while taking care of tasks that need to be done
- Help you unplug from the online world and be more engaged in the present moment
- Teach you a new skill and increase self-reliance moving forward
- Allow you to spend quality time with family while working together on a project
- Provide satisfaction from a job well done
Now that you know the benefits of DIY, the next question you may ask is, “how am I actually going to do this?”. With the increasing popularity of DIYing over buying and the ever-growing DIY-inspired social media platforms like Pinterest, finding helpful tips, tricks, and step-by-step instructions online is easier than ever. And while we understand that building a bookshelf out of scrap wood is a little less daunting than say installing a Studio Shed, we’re here to prove that no project is too large for even the novice DIYer! But don’t take our word for it – stick around to hear from one of our latest DIY clients who recently installed a Studio Shed in Scotts Valley, California!
Introducing Matthew Tripp, the ER Doctor turned DIYer, who put his handyman skills to the test in order to give his teenage son a bedroom of his own. Let’s jump right in.

Q: Hi Matthew, thanks for taking the time to share your experience installing your Studio Shed with us! Let's start with the basics. What size and model Studio Shed did you select and why?
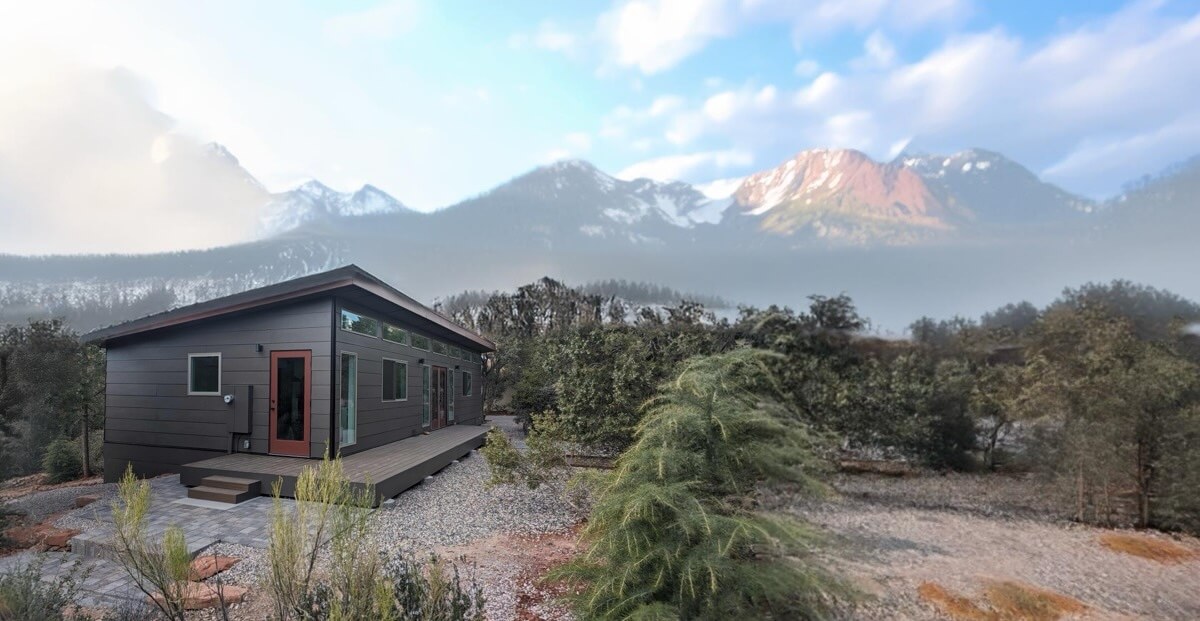
A: We went with the Signature Series 10 x 12. We loved the modern lines of the series, and the size was the largest allowed without a permit!
Q: Can you walk us through your decision-making process when selecting Studio Shed over a home renovation?
A: We are a blended family with 5 teenage kids. Our 3 boys were all sharing one room and it was clear we needed more space! We got an estimate for a relatively simple renovation, and they all came in over $200,000. The price of lumber and building supplies has just gone through the roof.
Q: What made you decide to select DIY installation rather than our professional installation option or hiring your own contractor?
A: My middle son really needed his own space and I wanted this to be a project we did together. As a father to have your child come to you with a need and to be able to meet it is the best feeling. I wanted him to see me build this for him and for us to work on it together.
Q: What was your construction experience like before taking on this project? Have you ever completed a project of this size?
A: I did not have any construction experience other than small projects around the house. I certainly had never taken on anything like this. That being said, I am always up for a challenge and am always trying to learn new things.
Q: Did you need to rent or buy any equipment to complete this project, or did you have everything you needed on hand?
A: I did have a circular saw and a drill, and I did buy a nail gun and some drywall supplies. Everything else we had, or I was able to borrow from family and friends.


Q: How long did the DIY Installation take you from start to finish?
A: From delivery to moving in was 3 months. I did most of the work in the evenings after work and on the weekends. I am a full-time ER doctor with 5 kids working non-stop during a global pandemic and I was able to make it happen!
Q: Did you complete all of the site work/prep for the installation yourself or outsource this portion of the project? (Foundation, trenching, etc.)
A: My son and I built the foundation. We did not outsource any of the site work. The only portion of the project we outsourced was the electrical work.
Q: What was the most challenging task you faced throughout the install?
A: By far the hardest part was getting the foundation level and square! The extra time and effort we put in on that step saved us so much time in the long run.
Q: What was the most rewarding part of installing your Studio Shed yourself?
A: I can’t believe we built it! Seeing the happiness and gratitude on my teenage son’s face is worth all the effort!


Q: How do you feel your construction experience has evolved since completing your Studio Shed installation?
A: Thank goodness for YouTube is all I can say!
Q: Were the instructions and resources beneficial when taking on this project? Do you have any suggestions for areas we could improve?
A: The instructions were extremely helpful! Very clear and easy to follow. I read through them several times before starting to make sure I understood the whole project. The only thing I would suggest is a more extensive video library covering each step. I was able to find videos on YouTube but having them all in one place would be great.
Q: If you could do it all again, would you do anything differently from the design process to the installation?
A: Honestly no. The whole process was really quite smooth.
Q: Would you recommend DIY installation to others who are considering purchasing a Studio Shed?
A: Definitely! Don’t be intimidated. Just give yourself plenty of time and don’t rush. You can save yourself thousands of dollars and the sense of accomplishment and pride you will feel is priceless.
Q: Any words of advice you'd like to share with those who select our DIY Installation option?
A: Take your time, ask questions, and don’t be afraid to make mistakes. Even if every line isn’t straight or there are little imperfections it will be worth it!

Thank you, Matthew, for sharing your and your son’s story with us. Hearing that you two built the Studio Shed together is inspiring and heartwarming all in one. Not to mention you both did an incredible job with the installation – we can’t believe you were first-time DIYers!
Are you ready to break out the tool belt and put your DIY skills to the test? At Studio Shed, we make it easy! When you select our DIY installation option, your Studio Shed is shipped with everything you’ll need for the install, along with a short and specific list of inexpensive and commonly available supplemental items. Our DIY Shed Kit not only allows you to avoid working around a contractor’s schedule but also provides the avid DIYer an opportunity to build something far more refined than what is possible with off-the-shelf materials. With a pre-packaged panelized kit from Studio Shed, we’ll do the heavy lifting, and you’ll get the satisfaction of a job well done! And as Matthew says, don’t be afraid to ask questions - we’re here to help throughout the process.
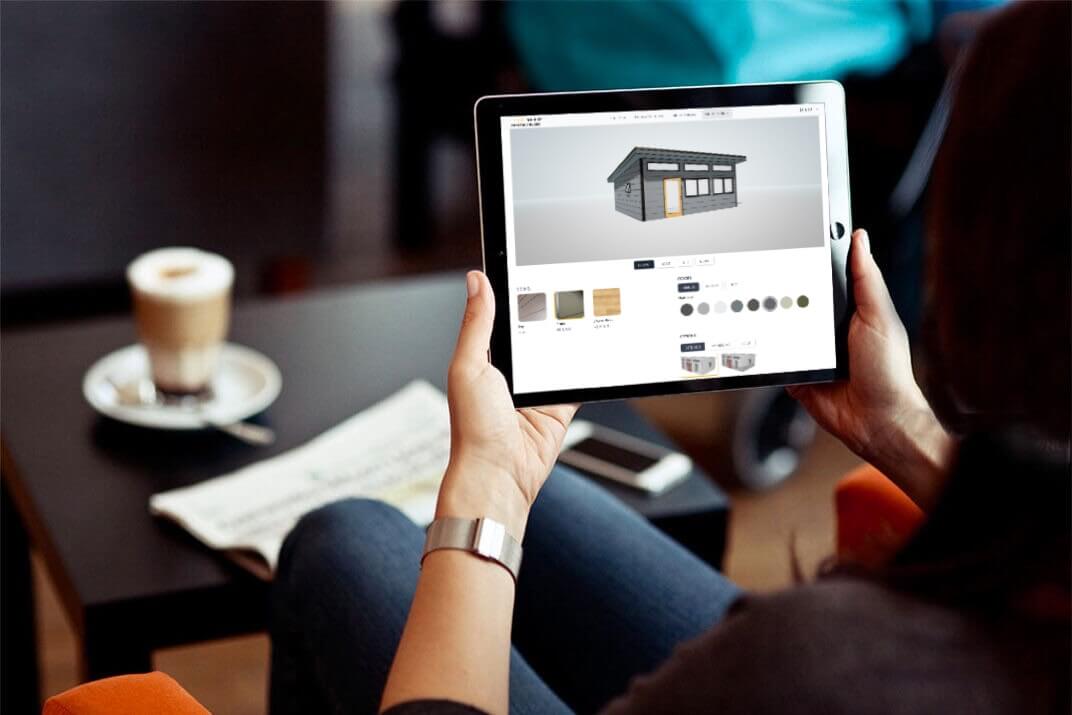
Get your next DIY project started through our 3D Design Center and create the backyard studio or ADU of your dreams. Looking for more information on our installation options? Browse through our installation resources page or read about the full installation process here!
Make Your Escape
Design Your STUDIOHOME
One shed does not fit all. Our innovative prefab solution is a flat-packed, panelized kits of parts with hundreds of customizations in the Design Center. There are millions of combinations of sizes, door and window placements, and colors. All thoughtfully designed to work together.
Built in Colorado. Delivered and assembled nationwide. Shipping available to all 50 U.S. states and select locations in Canada.
