Process How It Works! Planning, Design and Installation
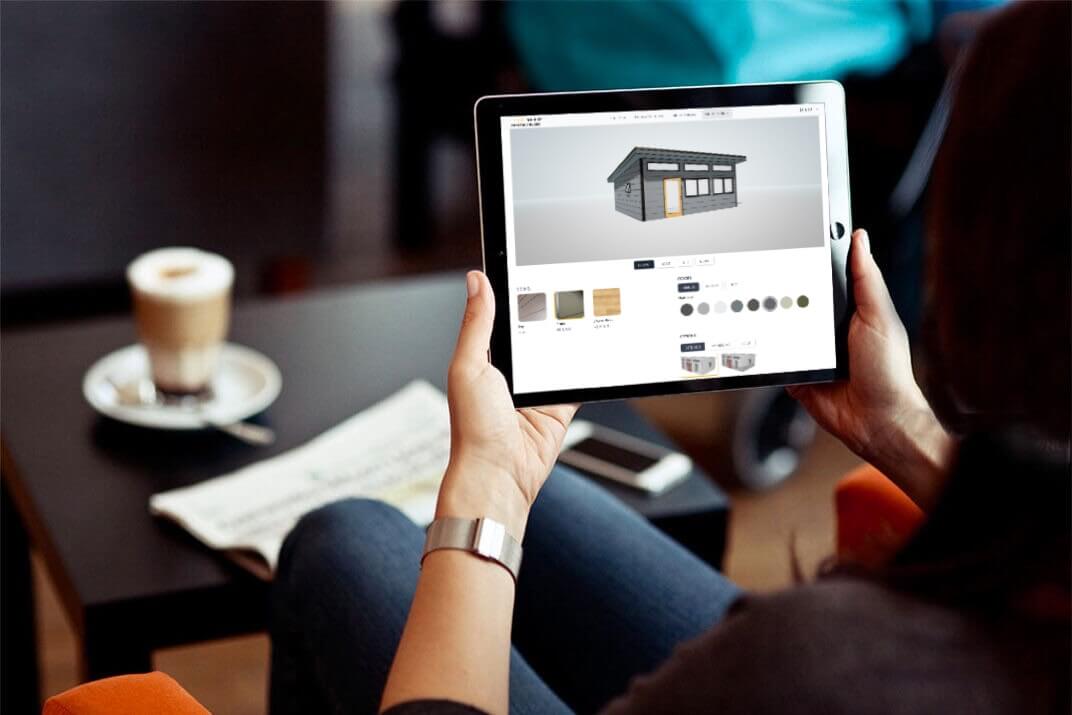
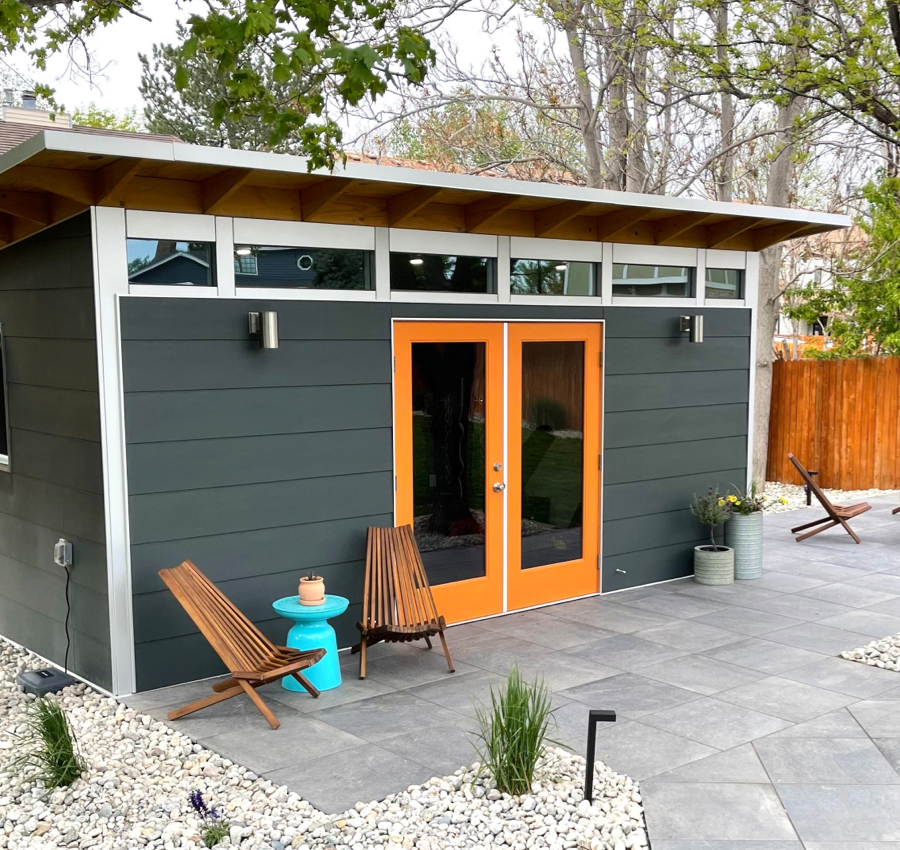
Start with our 3D Design Center to create a design, then schedule a free consultation with a Studio Shed advisor to plan your project. The Studio team will shepherd your project through permitting and fulfill your dream design in a matter of months.

-
Start with our Design Center
Customer Configuration
Site Visit
2+ WeeksWhen installation is purchased, we initiate communication with a contractor within Studio Shed’s installation network. This contractor will come review your project on-site and with their input you will fill out an informational checklist. This document provides information necessary for the site work estimate and is required to inform Studio Shed’s permit plan set.
-
- Introduction to Studio Shed Network Contractor
-
-
Site Visit Permitted Checklist— Existing and proposed utilities— Foundation type and project scope— Building use and interior layout— HVAC and water heater details— Photos of build site (with utility locates marked)
- Answer Customer’s Pre-Construction Questions
-
Estimate for Scope Outside of Studio Shed Kit— Foundation— Site Work— Deck— Other
-
-
- Providing access to site
- Providing needed information
- Verifying project is possible through building department or HOA

-
Order Placement & Deposit
Design Coordination
2+ WeeksStudio Shed’s Design Coordinator prepares your site plan, floor plan, and elevations based on your configuration and the site visit. We share this Coordination Set with you for final approval then include them in the contract.
-
- Exterior Shell Design and Colors
- Floor Plan and Interior Layout
- Local Energy Compliance
- Proposed Site Plan
-
- Approve Design
- Sign Contract
-
Approved Coordination Set & Contract
Project Design
4+ WeeksStudio Shed’s Project Designer works with our 3rd party Structural Engineer to prepare your unique Permit and Construction documents based on your configuration and local design criteria.
-
- Site plan
- Floor plans
- Design sections and details
- Elevations
- Electrical schematic
- Foundation plan
- Roof and wall framing plans
- Structural design criteria
- Structural sections and details
- Structural calculations
- Energy calculations
-
- Submit to the authority having jurisdiction
-
Permit Plan Set Delivered
Permitting
4-12 WeeksYour local building department’s plan review timeline can vary greatly. We often recommend engaging the planning department early on in the project to make sure there are not unforeseen hurdles in their process. Your Project Manager and Project Designer are available to address any comments or concerns from the building department after they review the plans.
-
- Revisions if required
- Itemized response letter
- Communication with authority having jurisdiction as required to resolve any concerns
-
- Submit to the authority having jurisdiction

-
Permit Issued
Scope Call & Production
2-4 WeeksStudio Shed’s Project Manager (PM) approved plans (Coordination Set) based on your configuration and the site visit. The PM schedules a Scope call with designated installer and timeline to shipout and installation discussed.
-
- Schedule scope call
- Schedule production date
- Review of custom/special considerations – i.e. windows, glazing, inspections, etc.
- Answer any outstanding questions you may have about your project prior to delivery and construction.
-
- Scope call
- Questions for the Studio Shed team
- Desired construction timeline
-
Delivery
Installation
1-2 WeeksOnce the unit ships, you will have 30 days of free local storage to coordinate delivery to your site. If your site is ready for construction and you have coordinated with your contractor, installation can begin as soon as you receive delivery. Your Project Manager is your best resource to assist in answering install related questions as the unit is being built.
-
- Support Network Contractor or DIY installation by phone and email as needed
- Provide applicable project and installation materials to support a successful project
- Provide support and solutions for any material damaged upon receipt or warranty claims
-
Provide all applicable warranty documents
- Final Contract and supporting documents
-
- Hand off-load the unit from semi-trailer to job site
- On-site assembly
- Coordination and completion of on-site inspections
-
- Permit card and any related documents from the building department or inspectors
- Site access
- Proactive questions to avoid ‘fire drills’ while building
- Cost of special inspections or other 3rd party requirements
- Written verification of HOA approval
- Access for delivery
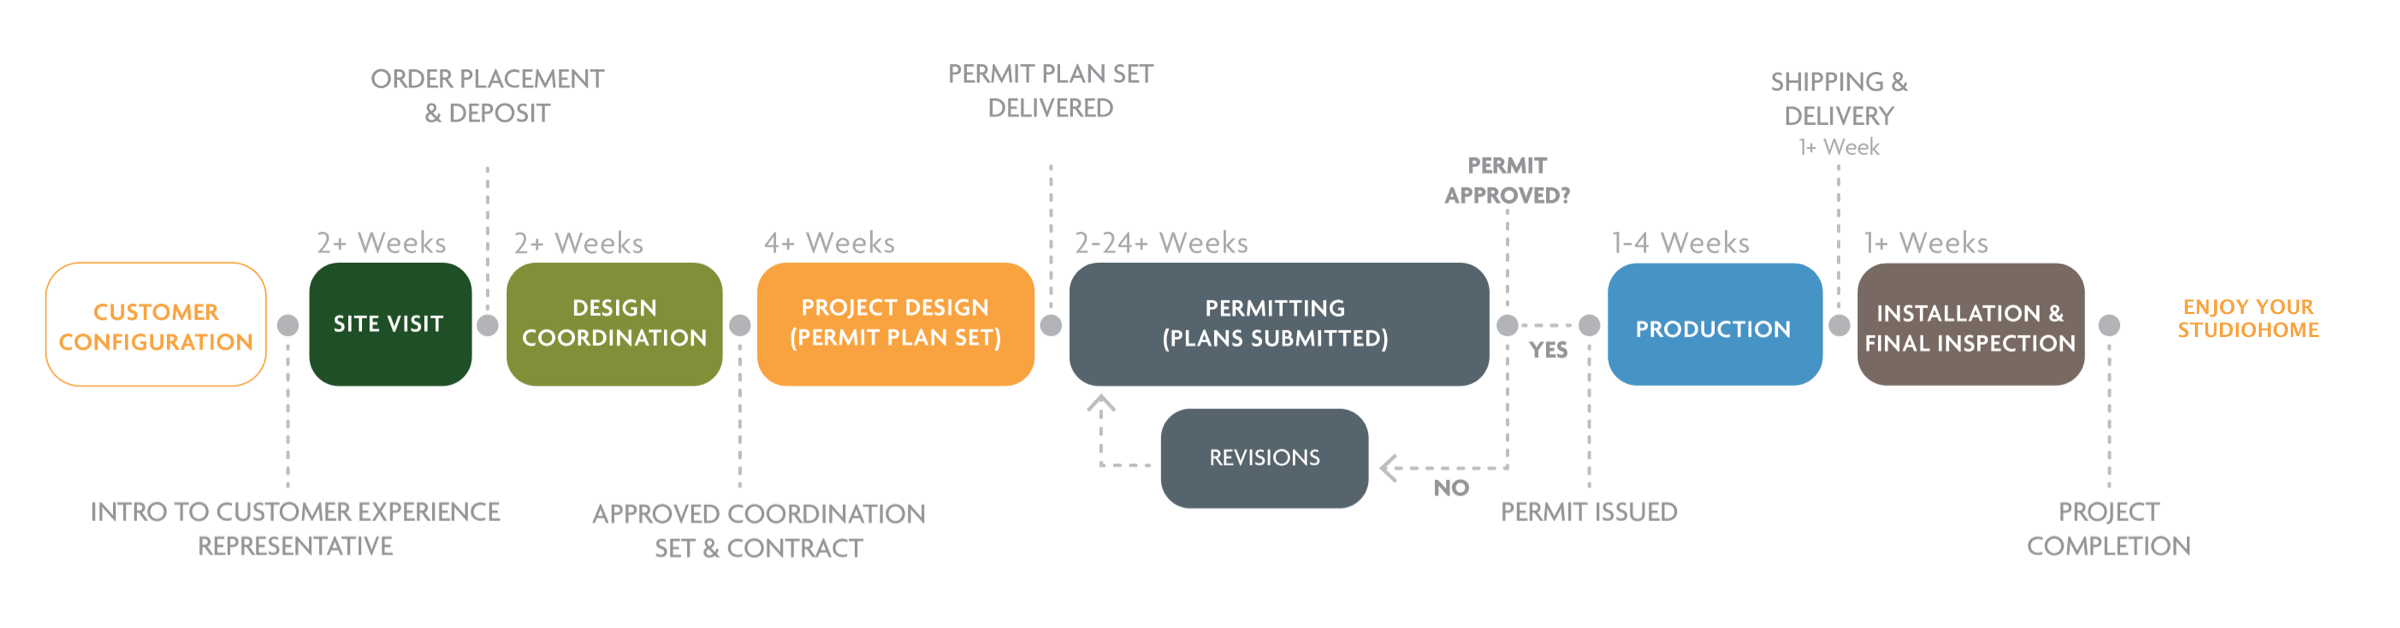
Process at a glance
Frequently Asked Questions
-
The Site Visit Checklist will need to be completed in order to progress into the Design Coordination phase. The information provided in the Checklist is required to efficiently work through your design and set your project up for success!
-
Chances are, yes. Any building that uses heating or cooling (conditioned) needs to comply with energy code. Further, any building that is considered ‘habitable’ is required to be conditioned.
CALIFORNIA: Additional material or equipment upgrades may be required outside of Studio Shed kit. Solar panels are required for all new conditioned residential buildings in CA.
-
Our permit plan set includes a general site plan based on GIS and Public data. Customer is responsible for verifying accuracy and providing a Survey or ILC if required by local jurisdiction.
-
Building code allows us to make some assumptions, but ultimately the building official is allowed to request a soils report. If you are unsure, we recommend reaching out to the building department to determine if they’ll require one for your project.
If any foundations on your site are showing signs of settling, or if you’ve needed to provide them in past, we recommend pursuing a soils report for your Studio Shed.
-
No, Permit fees are the responsibility of the customer.
-
Current material lead times are the largest factor in the production timeline. We are generally able to build and ship units with just a few weeks of permit approval, but site work and special materials can occasionally cause delays.
-
No, your Project Manager will be available all the way through completion of the unit to answer questions you or your contractor may have. Your Project Manager will also be your main point of contact if you have questions once the Studio Shed is complete.
-
It is unlikely, but feel free to ask your Project Manager. Most modifications will require another round of revisions with the city, additional design fees, and more time until you can build.
-
While we do not require you to take the call, we highly recommend you do so we may cover the necessary items to make your project go smoothly.
-
No. Your color choices are locked in once you sign the Coordination Set and Contract. As each building is fabricated individually, last minute changes derail the production, shipping, and installation schedules.
-
Only if a Studio Shed BATHROOM kit is purchased. Otherwise, this can be quoted by your contractor directly.
-
Depending on the foundation type (concrete or wood), you will use concrete anchor bolts or structural wood screws provided by Studio Shed.
-
By building individual components in our factory, we are able drastically reduce on-site construction time as compared to typical construction. Installation timelines vary greatly by region and project scope. A 10x12 shell-only installation can take as little as two working days, while a full ADU can take several weeks. Inspection timelines can also vary greatly by building department. Your timeline will be discussed more specifically in your scope call.
-
Ideally, by the time your unit is being delivered your foundation should be fully built, cured, and evaluated for proper conditions (ie: square, level, at least 8” above grade). If inspections are required these should be completed prior to delivery as well.
-
If DIY, you or your contractor should decide how these will be handled with the AHJ (authority having jurisdiction). If DIFM, your Studio Shed Network Contractor will schedule and be present (if necessary) for all inspections.
-
Contact your Project Manager immediately. They will ask you to provide photos and description of the damages (photographs need to be of material still on the truck if it arrived damaged on the truck). Your PM will determine the best course of action for repairing or replacing the damaged materials. It is critical that you inspect the materials for damages as soon as possible to allow SS to properly assess how to move forward and minimize construction delays.
-
Contact your Project Manager for guidance on how to properly store materials on-site. Please note that an unbuilt Studio Shed kit is not designed to withstand the elements for long periods of time if not properly protected.